Crafting Birthday Cards: A Step-by-Step Guide to Personalized Greetings

Handmade birthday cards are a timeless way to express your love and creativity. In this guide, we'll walk you through the steps to create personalized birthday cards that will leave a lasting impression. Whether you're a seasoned crafter or a beginner, these tips will help you make a card that's as unique as the person receiving it. If you're interested in exploring more about how birthdays are celebrated differently, check out Global Birthday Traditions: Unique Celebrations from Around the World.
Why Make Personalized Birthday Cards?
Creating your own birthday card allows you to tailor the message and design specifically for the recipient. A personalized card shows thoughtfulness and effort, making the birthday person feel extra special. It's a gift in itself, reflecting personal touches that a store-bought card simply can't convey. For inspiration on unique birthday customs, you might enjoy reading DIY Birthday Traditions: Create Personalized Customs for Your Special Day.
Materials You Will Need
To get started on your card-making journey, gather the following materials:
- Blank cards and envelopes: Choose a size and color that suits your design.
- Decorative paper: Use patterned or textured paper for added interest.
- Adhesives: Double-sided tape or glue dots work best.
- Scissors and craft knife: For cutting paper and embellishments.
- Pens and markers: Fine-tip markers are great for detailed illustrations.
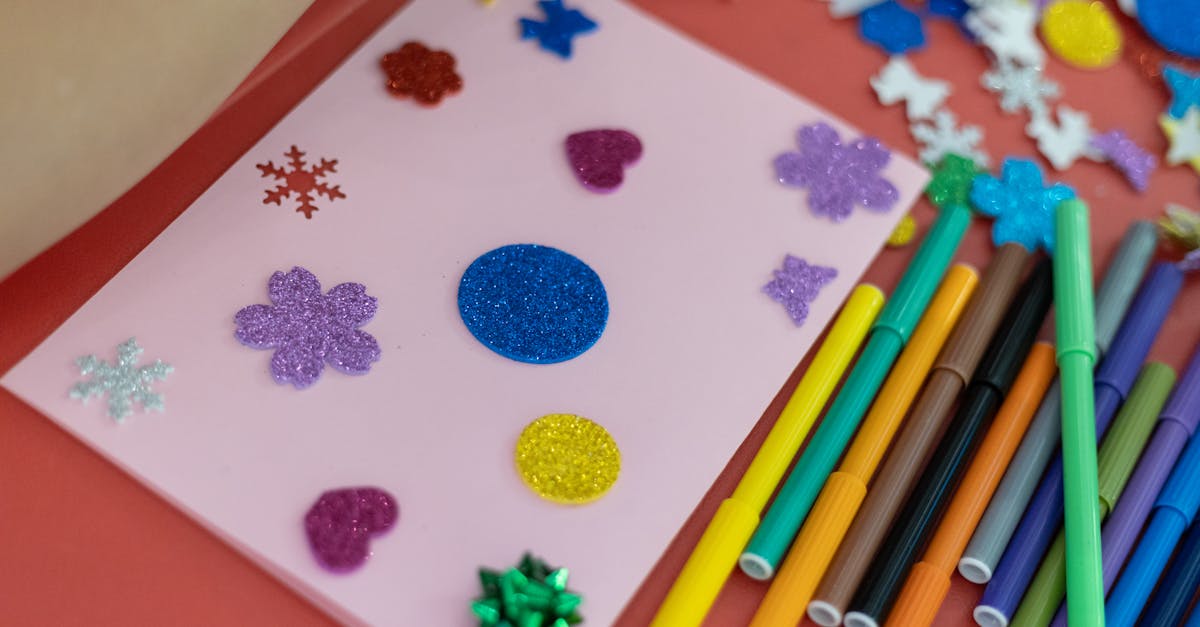
- Embellishments: Stickers, stamps, ribbons, and buttons can add flair.
Step-by-Step Card Crafting
Step 1: Plan Your Design
Start by sketching out your design on a piece of scrap paper. Consider the recipient's interestsdo they love flowers, animals, or perhaps a specific color? Incorporate these elements into your design. For more creative birthday ideas, check out Planning a Historical-Themed Birthday Party: Tips and Ideas.

Step 2: Create the Base
Take your blank card and fold it if necessary. Cut a piece of decorative paper slightly smaller than the card front and attach it using adhesive. This forms the background of your card.
Step 3: Add Personal Touches
Write a heartfelt message inside using pens or markers. For an added touch, include a hand-drawn illustration or use stamps to embellish the card front.
Step 4: Embellish with Decor
Finish off your card by adding embellishments like stickers or ribbons. Ensure they complement rather than overpower your design.

Step 5: Final Touches
Before placing your card in an envelope, double-check for any loose edges or smudges. You want your card to look polished and professional.
Conclusion
Crafting a personalized birthday card is not only enjoyable but also deeply rewarding. With these simple steps, you can create meaningful greetings that capture the essence of your relationship with the birthday celebrant. So gather your supplies and let your creativity run wildyour loved ones will surely cherish the thoughtful gesture!
Remember, the best birthday cards come from the heart. Happy crafting!